
Using the LMS Scheduler
Using the LMS Scheduler
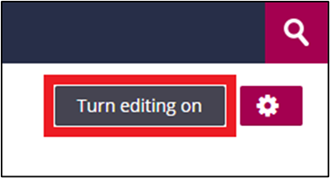
- Go to the LMS page of your course and click on the “Turn editing on” button.
- Click on the “Add an activity or resource” field.

- Choose the “Scheduler” option.

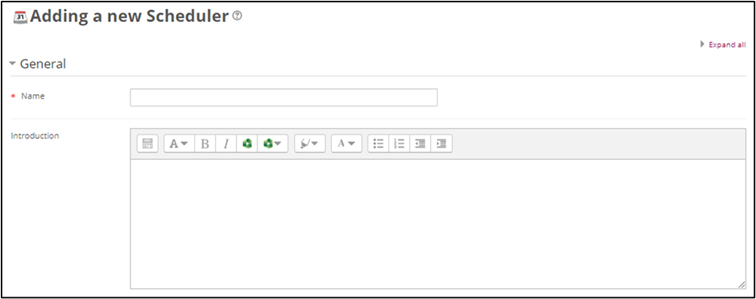
- Under the “General” field, there are the following options.
- Name: Input a name for the scheduler to create your slots.
- Introduction: Input your reason for creating the scheduler and other necessary information.
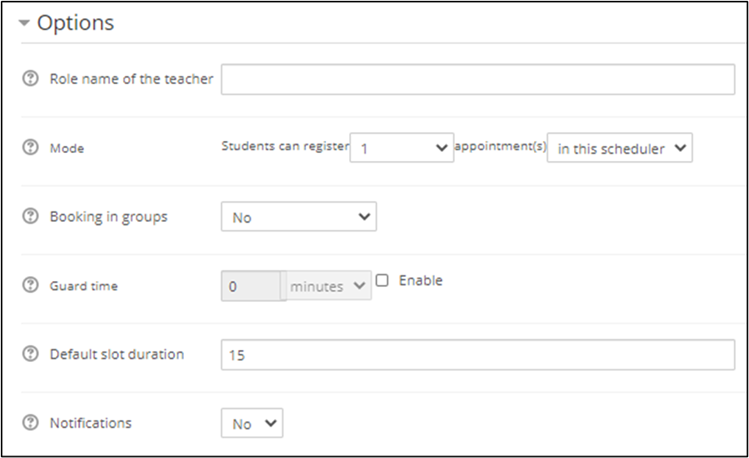
- Under the “Options” field, there are the following options.
- Mode:Determine how many slots a student can sign up.
- Guard time:Determine the time period where a student cannot book a slot or drop a slot. For example, if set to 2 hours, then students will be unable to book a slot that starts in less than 2 hours time from now, and they will be unable to drop a slot if it starts in less than 2 hours. To activate it, click on the "Enable" field and input the time.Under the “Options” field, there are the following options.
- Default slot duration:Determine the slot time.
- Notifications:It is possible to set up the confirmation emails for when slots are booked. Note that enabling this option can cause the instructor to receive too many emails in crowded classrooms.
- Click on the “Save and display” button.

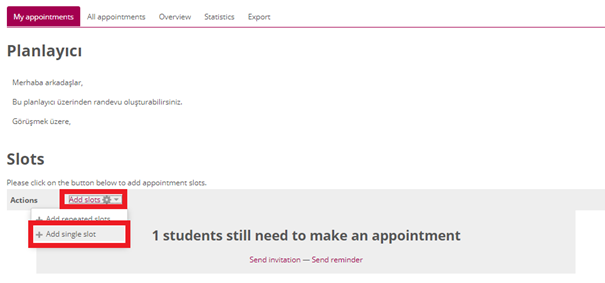
- Click on the scheduler you created.

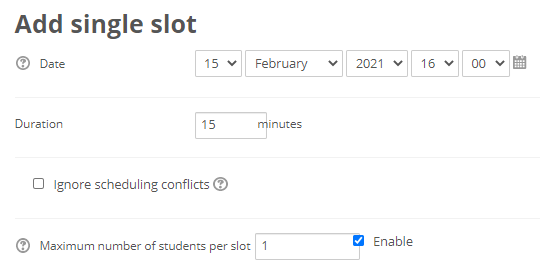
- Firstly click on the “Add slots” field, then click on the “Add single slot” option.
- The following options are important for this area.
- Date: Determine the slot date.
- Duration:Determine the slot duration.
- Maximum number of students per slot: Determine the maximum number of students for the slot.
- Click on the “Save changes” button.
- You have created your slot.

- Students will view the slot you have created as follows. For reservation, they need to click on the "Book slot" button.

- Log in to post comments