
How Can I Install the iSpring Suite on My Computer? & How Can I Create an iSpring Space Account?
iSpring Suite is a PowerPoint plugin. iSpring Space is web-based software. These applications will help you to design rich and interactive course materials.
In order to install the iSpring Suite on your computer and use both iSpring Suite and iSpring Space, you must firstly make a request via SC. When we receive your request, an email will be sent to your mailbox.
For installation, if you are out of campus, you need to install and run VPN on your computer. You can get support for VPN installation at https://my.ozyegin.edu.tr/tr/page/12091
-
While working on a PowerPoint file, you must firstly save your file, otherwise you can not be able to benefit from iSpring Suite’s features.
-
When working on iSpring Suite or iSpring Space you must be connected to the university's VPN network.
-
While iSpring Suite is only compatible with Windows Operating System, iSpring Space is compatible with all operating systems as it is a web-based software.
-
Download the iSpring Suite application from the links below in accordance with the specifications of your computer.
a. 32-bit Windows:
https://cdn4.ispringsolutions.com/download/10.2/103006/ispring_suite_10_2_1.msib. 64-bit Windows:
https://cdn4.ispringsolutions.com/download/10.2/103006/ispring_suite_x64_10_2_1.msi -
Run the iSpring Suite Setup file.

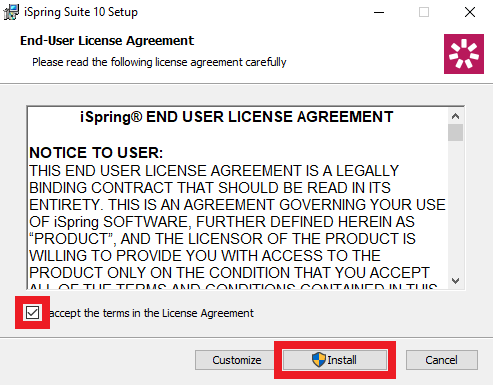
- Check the “I accept the terms in the License Agreement” field and click on the “Install” button.
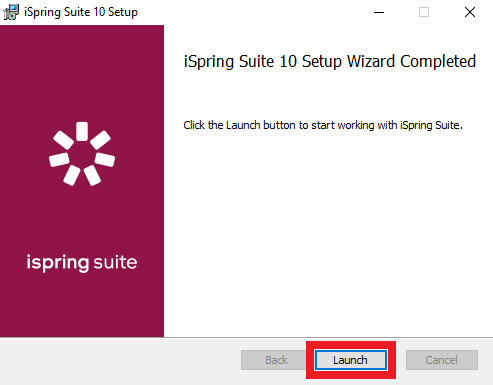
- After the installation is completed, click on the “Launch” button.
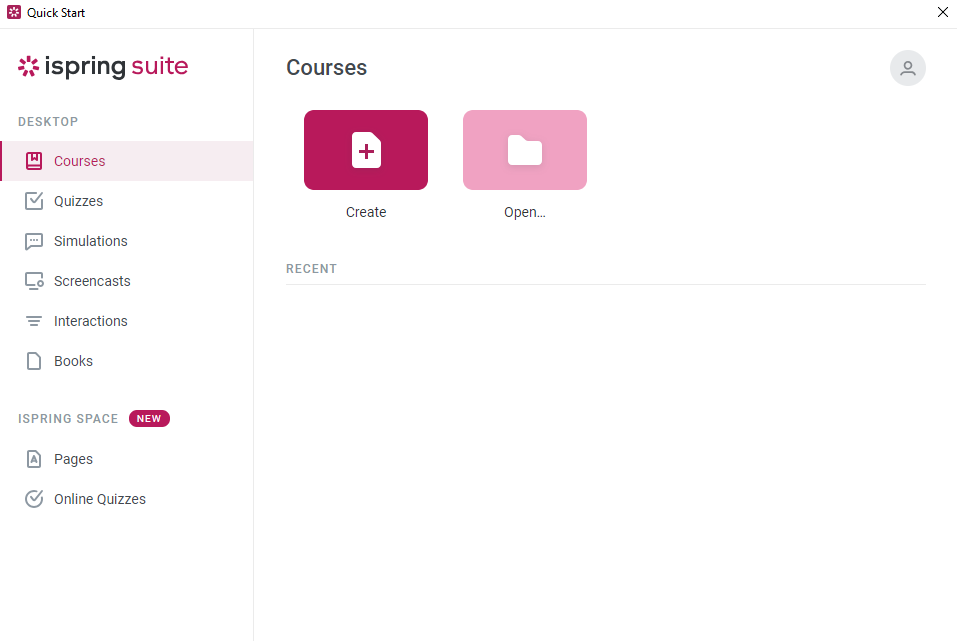
- The desktop application iSpring Suite will open automatically. In the first place, you should not take any action on this page, and you should not close the page. Check your mailbox.
- PowerPoint opens automatically on some computers. In such a case, you can open the desktop application by typing “iSpring Suite” on the taskbar.
- PowerPoint opens automatically on some computers. In such a case, you can open the desktop application by typing “iSpring Suite” on the taskbar.
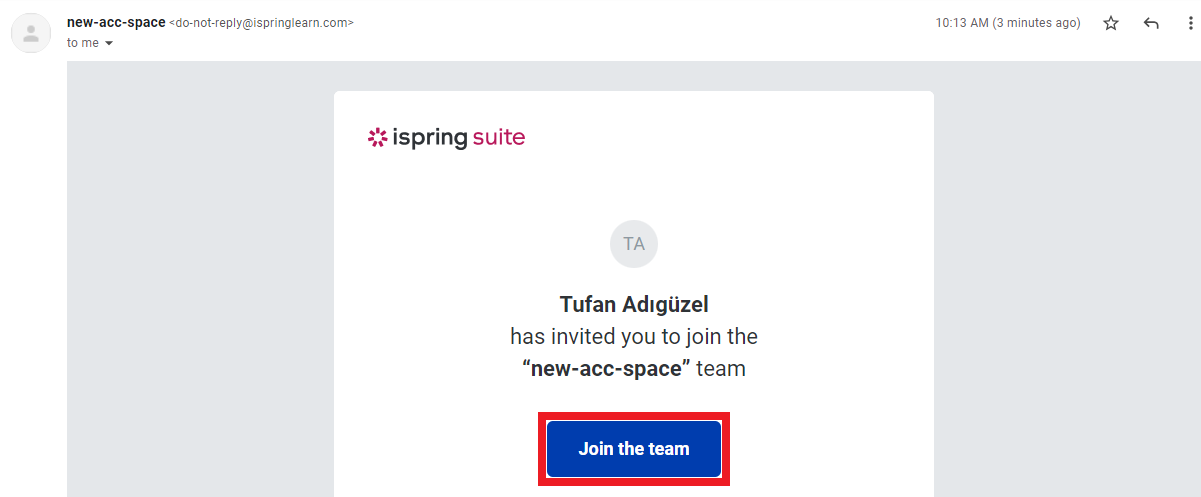
- Click on the e-mail sent to your mailbox by new-acc-space (do-not-reply@ispringlearn.com) and then click on the “Join the team” button.
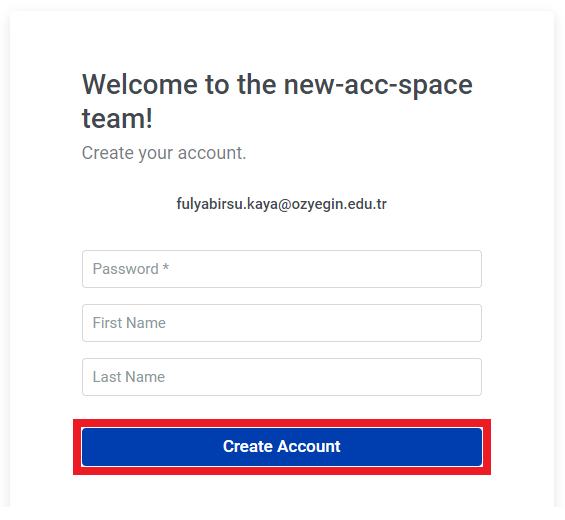
- On the page that opens, you need to create an account. For this, you need to fill in the password, name and surname, then click on the “Create Account” button.
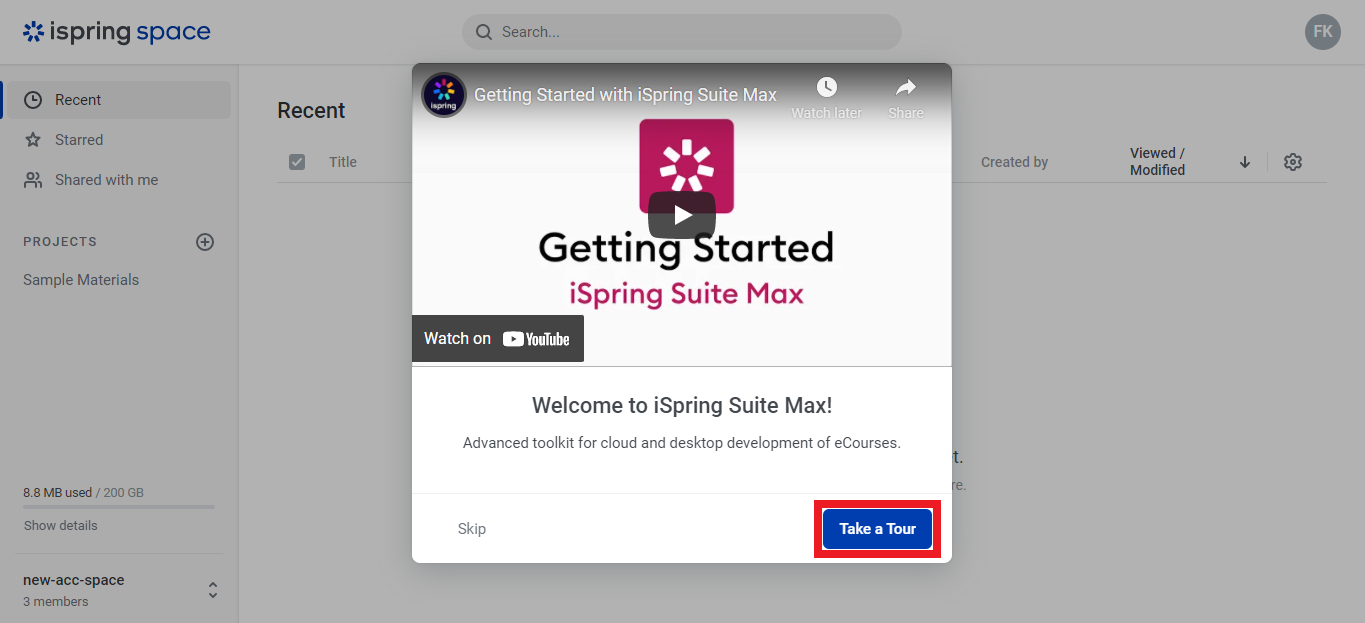
- If you want to know and learn the interface of the software, click on the “Take a Tour” button. If you want to start using it right away, click on the "Skip" button.
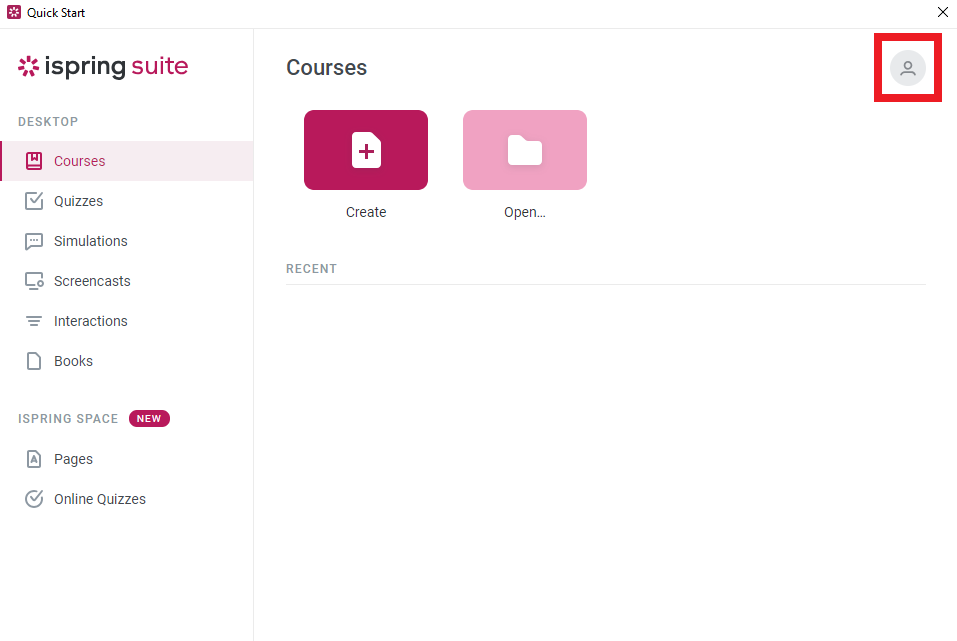
- Click on the “profile icon” in the upper right corner of the screen to log in to the application.
- Then click on the “Log in with iSpring Space” button.
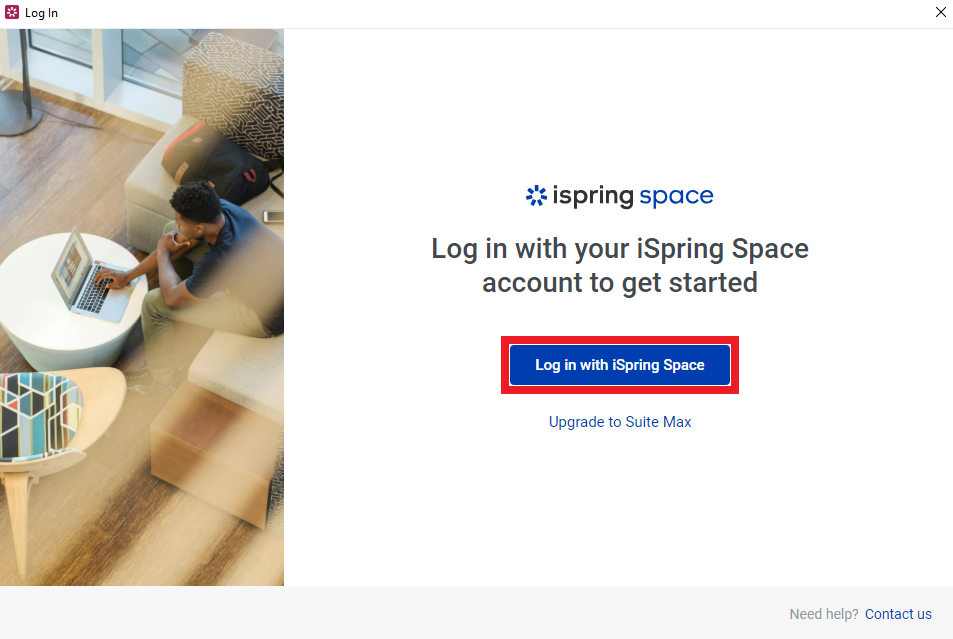
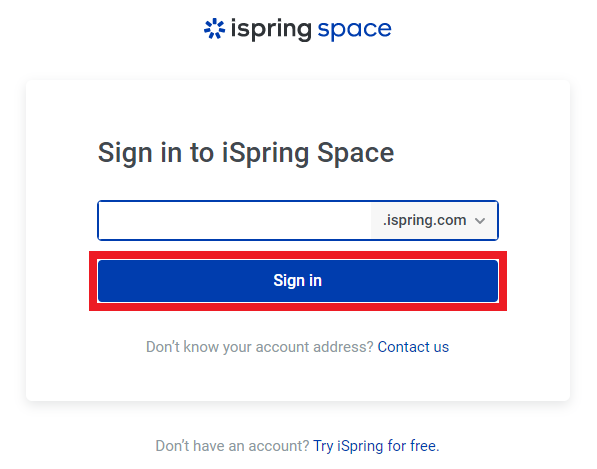
- Input “new-acc-space-9975” in the empty field and click on the “Sign In” button.
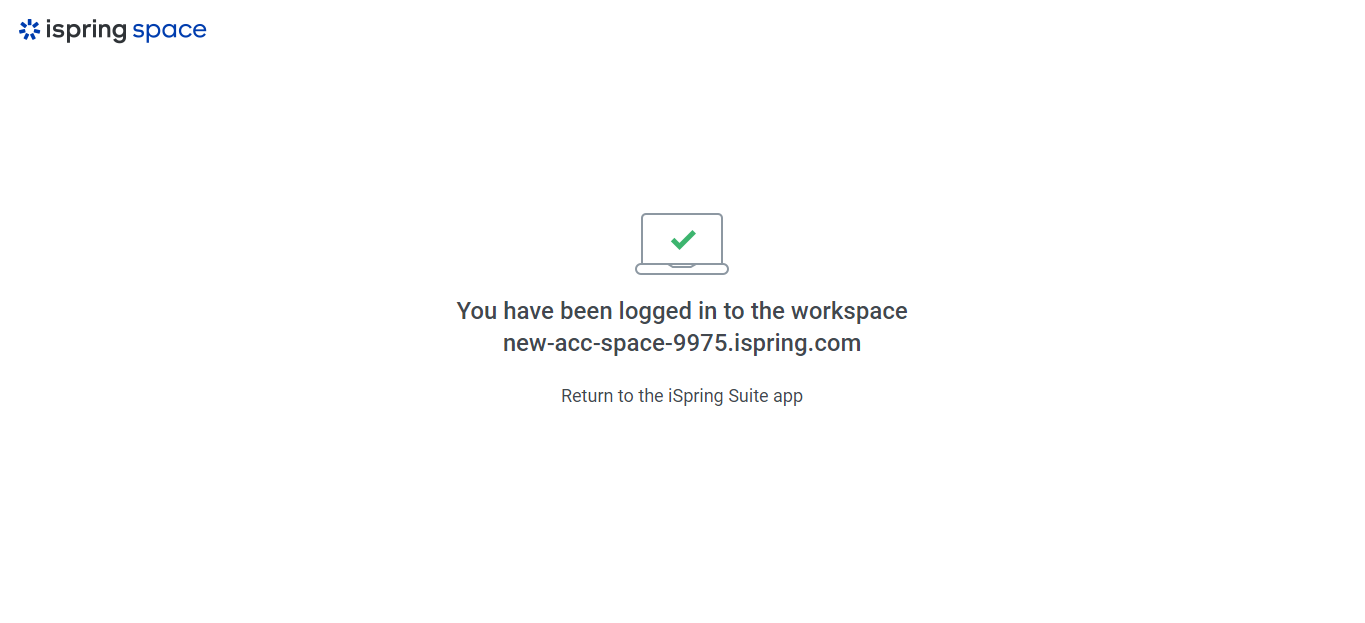
- You will see the following screen when you log in to your account.
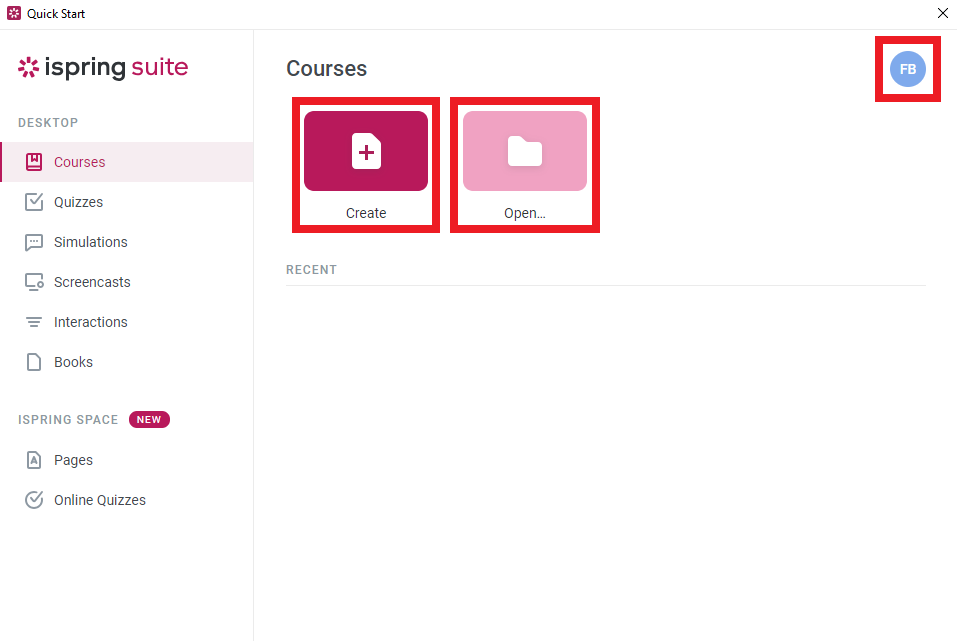
- When you return to the desktop application page of iSpring Suite, you will see the initials of your name and surname on the profile icon in the upper right corner. This indicates that your account has been opened.
- Create: Click on the “Create” field if you want to create a new Powerpoint file.
- Open: Click on the “Open” field if you want to work on an existing PowerPoint file.
- You can use the features of the iSpring Suite directly by opening a PowerPoint file without opening the desktop application of iSpring Suite. If you want to create content on the web, you can log in to iSpring Space at http://new-acc-space-9975.ispring.com/ with your username and password.
- Log in to post comments