
How can I prepare an interactive learning material using the LMS's H5P plug-in? (Beginner Level)
This guide provides the steps you should follow to make a video interactive. In addition, limited interactivity features such as adding label, text, table, image and link to a video are described.
It is recommended to use the question adding features of H5P in order to increase the learner-content interaction and to prepare teaching materials suitable for the individual learner rather than measurement and evaluation
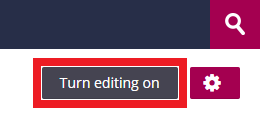
- Click on the “Turn editing on” button.
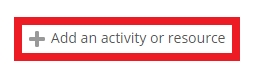
- Click on the “Add an activity or resource” field under the week you want to create an H5P activity.
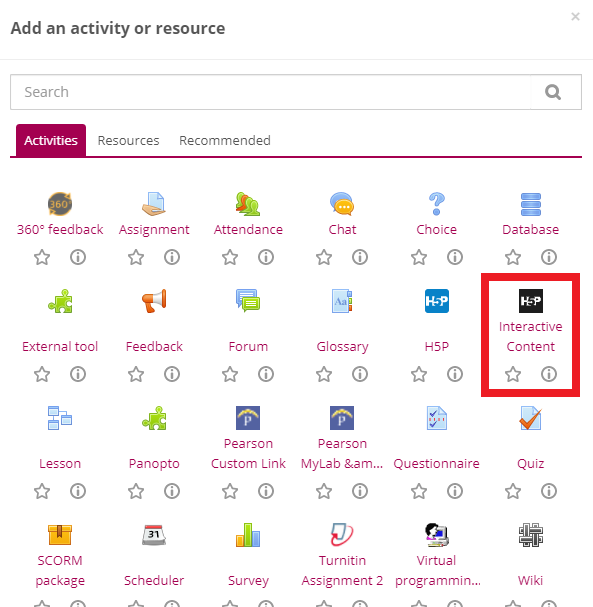
- Choose the “Interactive Content” option.
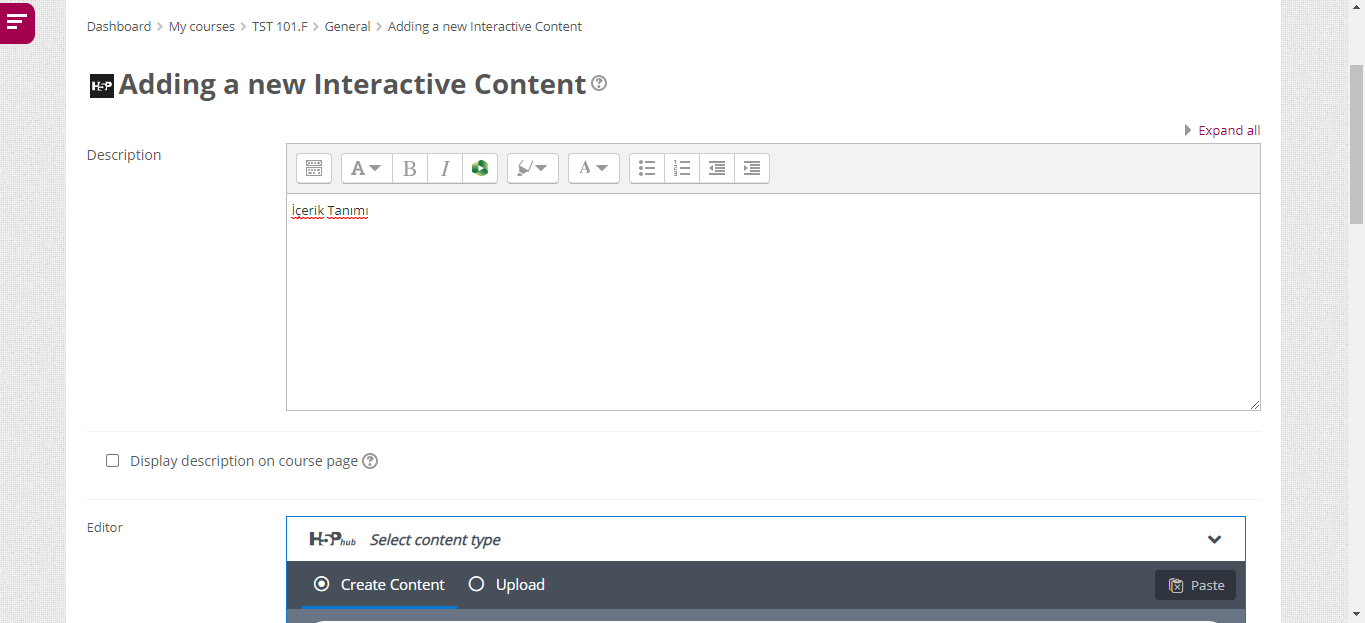
- In the new window that appears, you can first write a description / instruction for your interactive video in the "description" field. By clicking on the "Display description on course page" option, you can make the text you write in the "description" field appear on the course page.
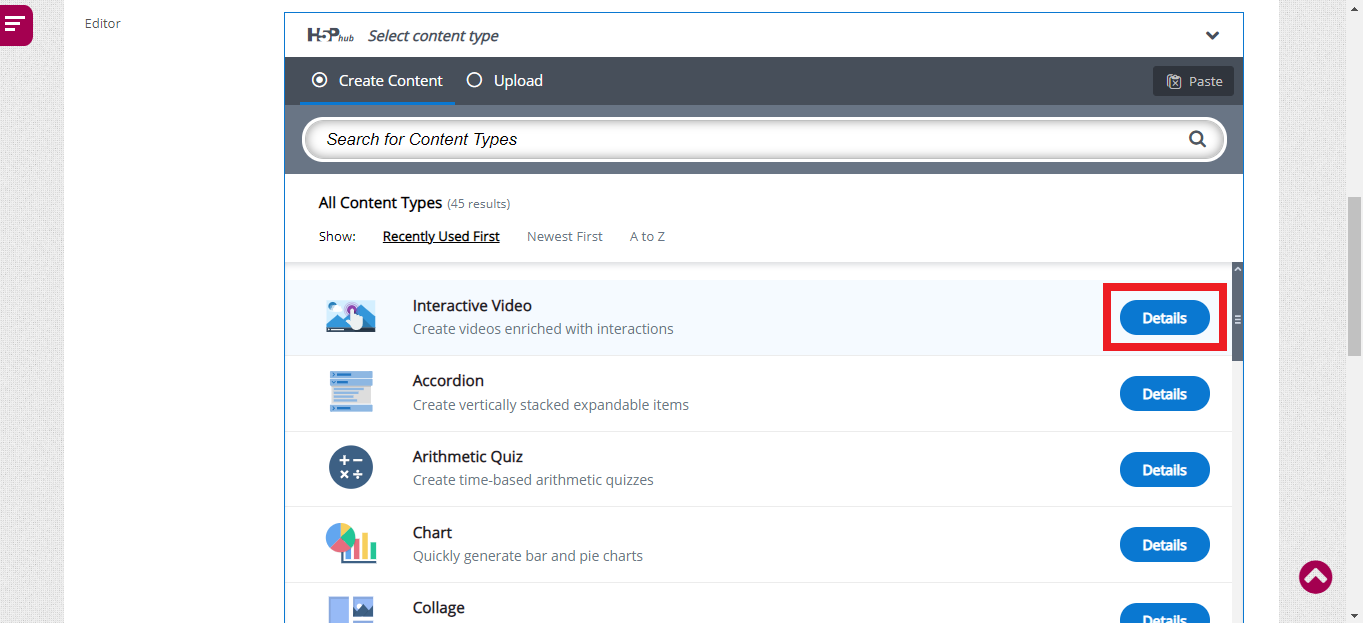
- When you scroll down on the same screen, the H5P editor will appear. Click on the "Details" button next to the "Interactive Video" area in the H5P editor.
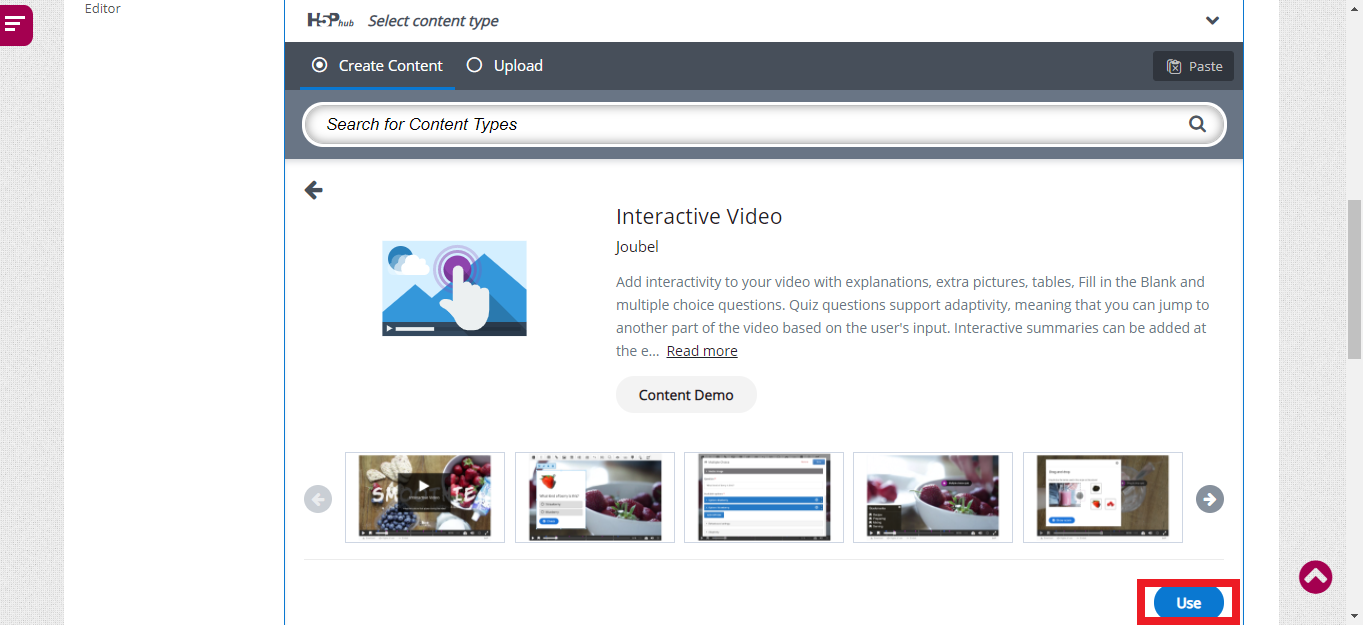
- Click on the “Use” button.
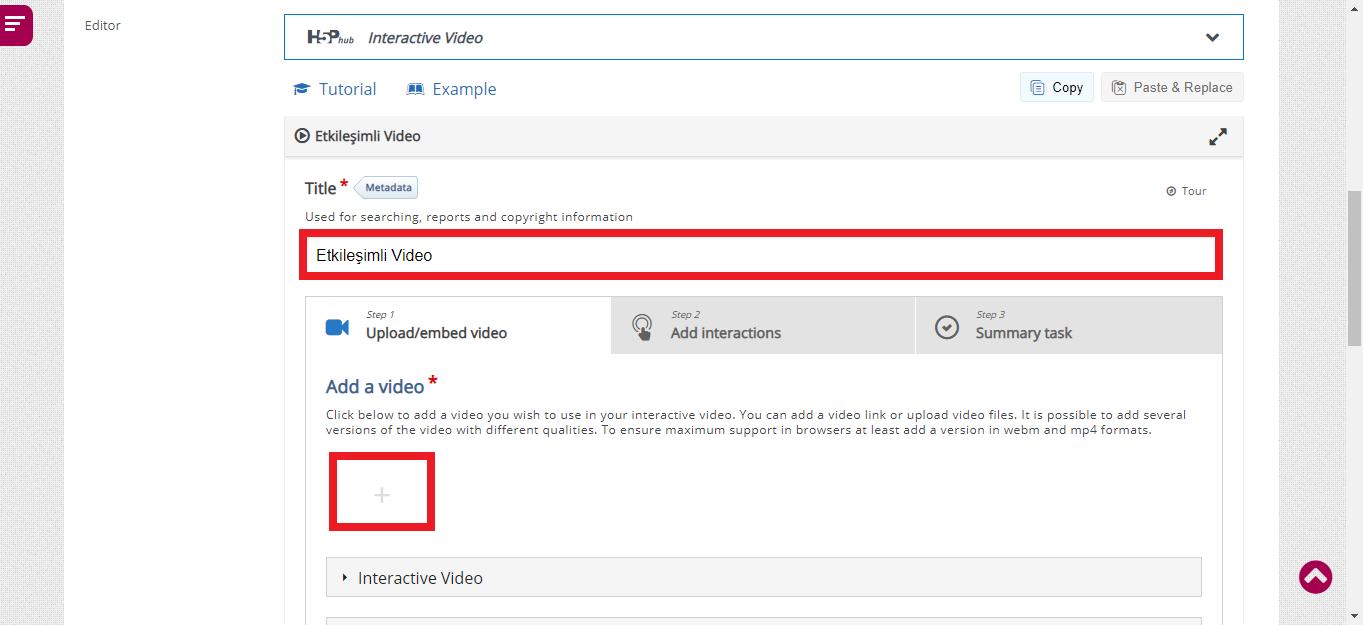
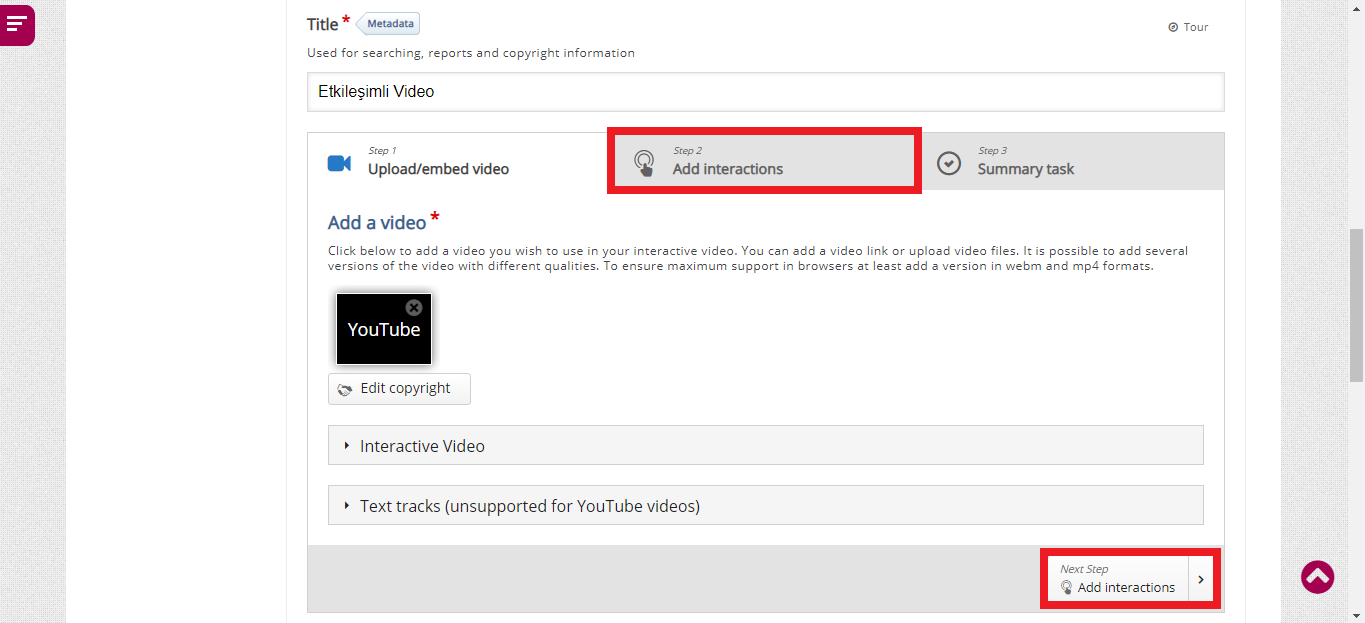
- Type a title for your interactive video in the "Title" field. Then, click on the "+" icon under the "Add a video" field to add a video.
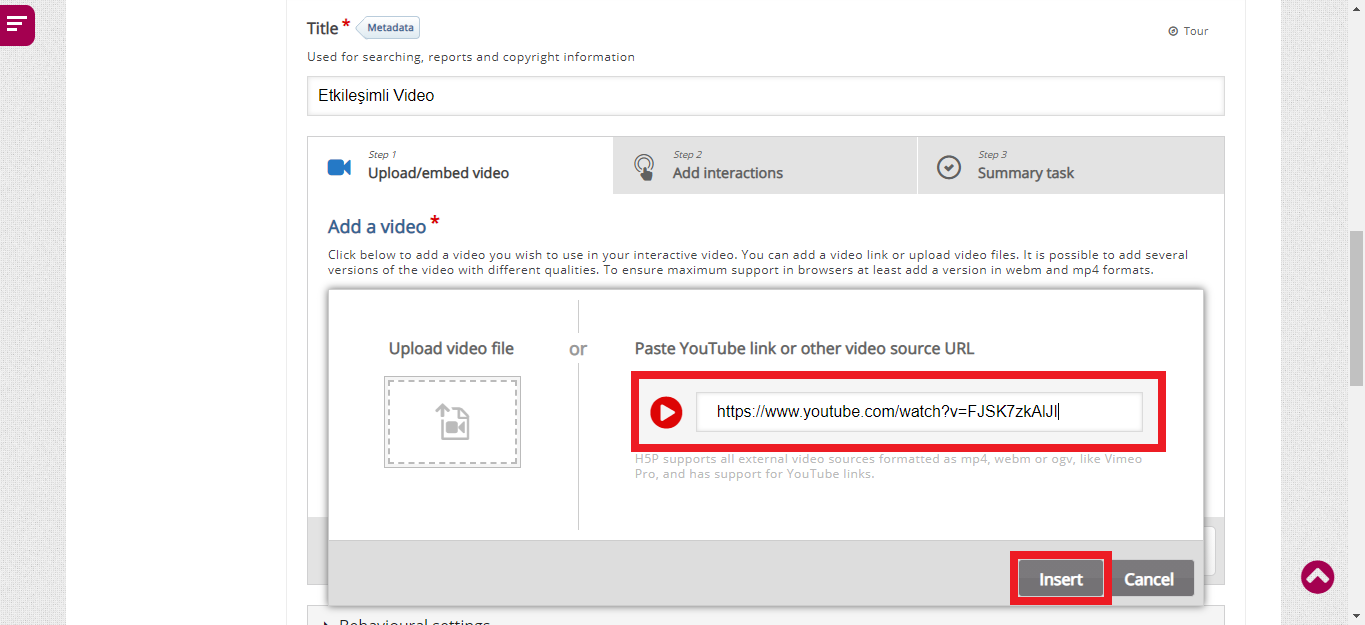
- Paste the link of the video you want to add interaction to the field "Paste Youtube link or other video source URL". Then, click on the "Insert" button.
- Click on the "Step 2 Add interactions" or "Next Step Add interactions" button to proceed.
- The video will be added to the page as below. In addition, a top menu will open with various interaction options for you to add to your video.
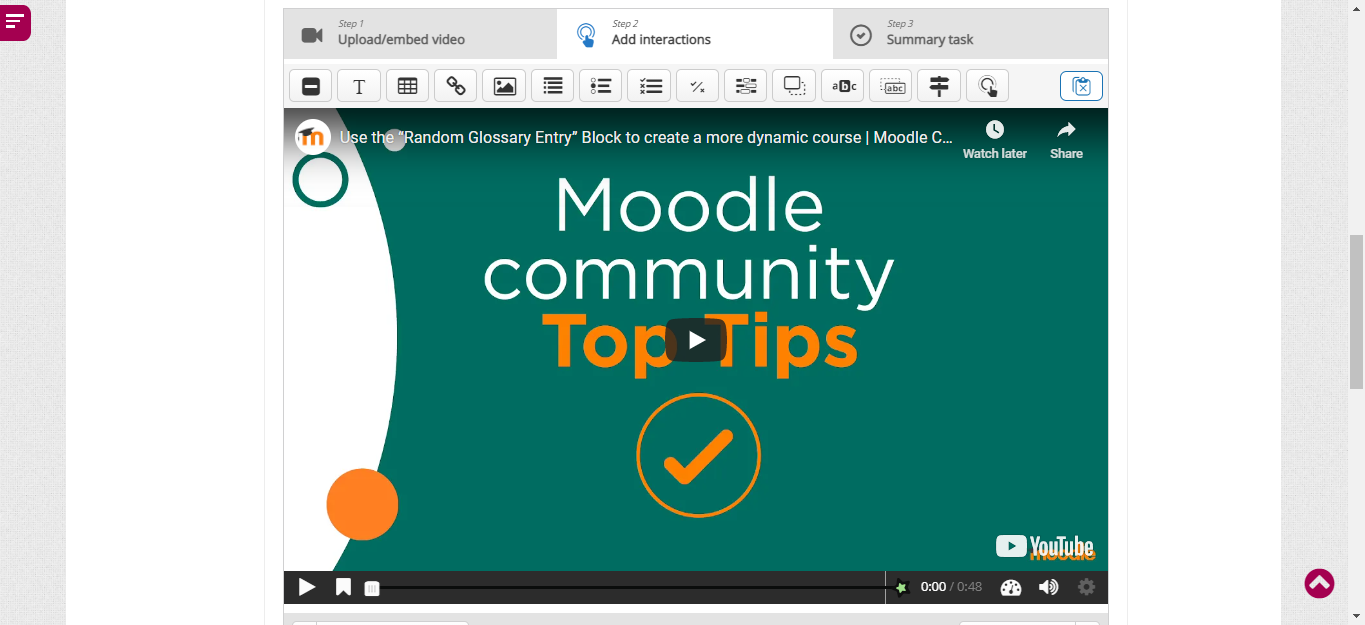
- Options in the top menu:

Add Label.

Add Text. 
Add Table. 
Add Link. 
Add Image. 
Add Statements. 
Add a multiple choice question with only one correct answer (Single Choice Set). 
Add a multiple choice question with more than one correct answer (Multiple Choice). 
Add "True/False" question. 
Add Fill in the Blanks question. 
Add Drag and Drop question. 
Add Mark the Words question. 
Add Drag Text question. 
Add Crossroads question. 
Add Navigation Hotspot.
When you click on the "Label" button to add a label, a screen will open with the following options. It allows you to add non-interactive text to the video.
-
View options are described in this section.
a. Display time: Type the time interval in which the label should appear on the screen in this field.
b. Pause video: Allows the video to pause when the label appears on the screen.
c. Label: Type the text you want to write on the label.
d. After completing the relevant settings, click on the "Done" button.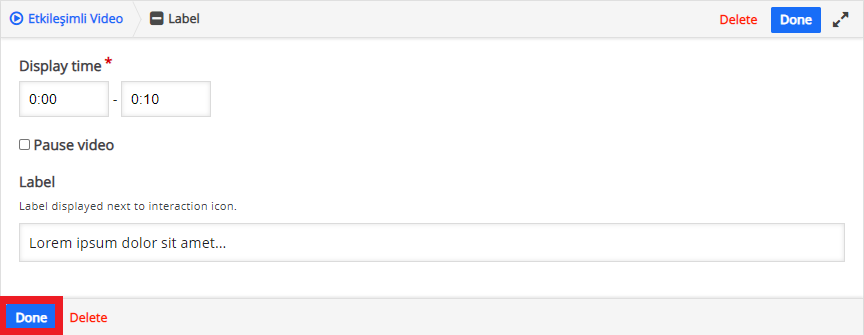
- Editing options are described in this section.
a. The label will be added to your video as shown below. When you click on this label, a menu will appear. By clicking on the label, you can move it anywhere in the video with the drag-and-drop method.
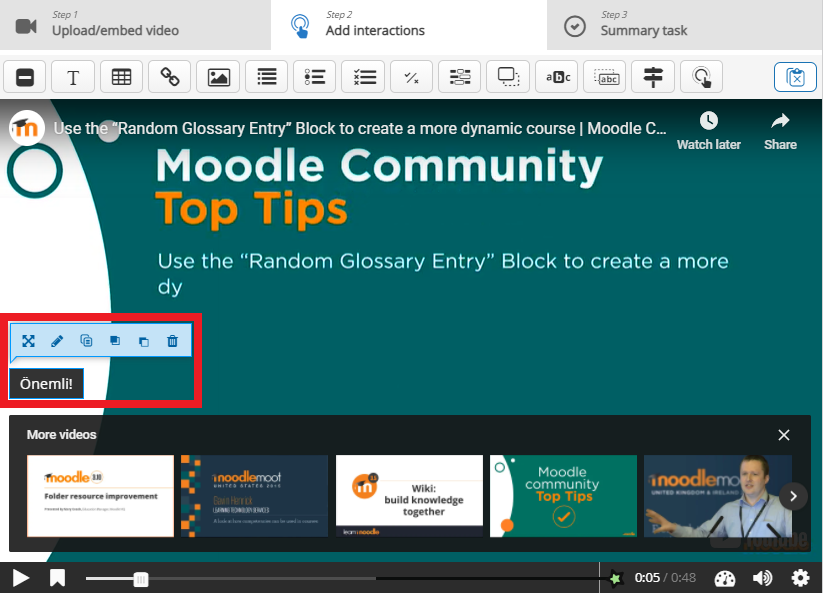
b. Editing options are given below.
Allows you to adjust the position and size of the label within the screen. 
Allows you to edit the label. 
Allows you to copy the label. To copy the label, click on this icon and then click on the icon in the upper right corner  .
.
Allows you to position the label on the front among the other components on the page. 
Allows you to position the label behind among the other components on the page. 
Allows you to delete the label.
When you click on the "Text" button to add a text, a screen will open with the following options.
- View options are described in this section.
a. Display time: Type the time interval in which the text should appear on the screen in this field.
b. Pause video: Allows the video to pause when the text appears on the screen.
c. Display as: Makes the text appear on the screen as a poster or button.
d. Label: Type the text you want to write on the label. It is the text that appears next to the interaction icon. When this text is clicked, the text you typed in the "Text" field appears.
e. Text: Type the relevant text.
f. After completing the relevant settings, click on the "Done" button.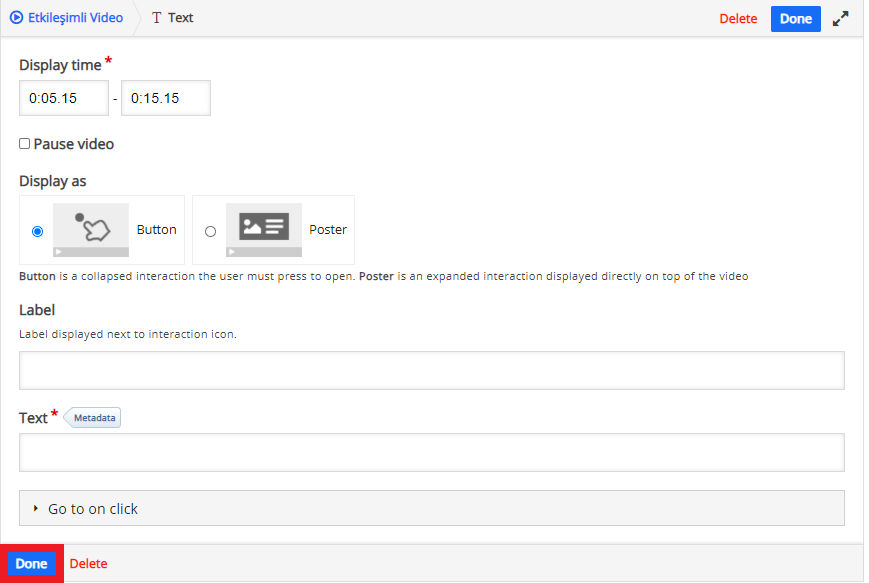
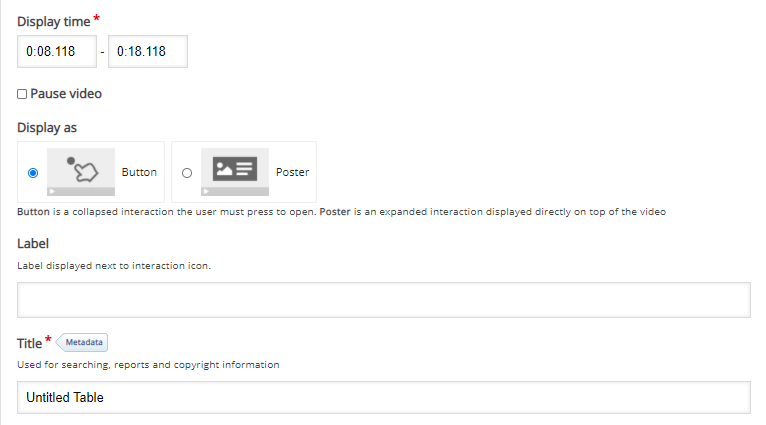
When you click on the "Table" button to add a table, a screen will open with the following options.
- View options are described in this section.
a. Display time: Type the time interval in which the table should appear on the screen in this field.
b. Pause video: Allows the video to pause when the table appears on the screen.
c. Display as: Makes the table appear on the screen as a poster or button.
d. Label: Type the text you want to write on the label. It is the text that appears next to the interaction icon. When this text is clicked, the table you added on the "Table" field appears.
e. Title: Type a title for the table.
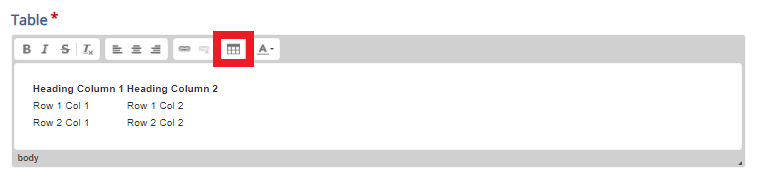
- Table options are described in this section.
a. Click on the table and add your data to the table. If you want to make more detailed editing on the table, click on the table icon on the screen.
b. A screen with the table properties will open. Click on the "Ok" button after making the necessary arrangements.
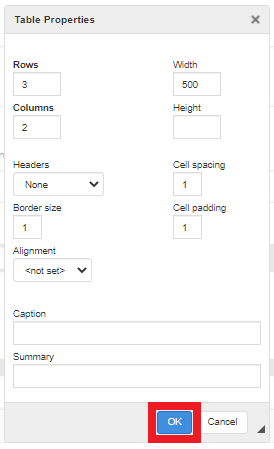
- After completing the relevant settings, click on the "Done" button.

When you click on the "Link" button to add a link, a screen will open with the following options. Therefore, you can redirect to another web page while in the video.
- View options are described in this section.
a. Display time: Type the time interval in which the link should appear on the screen in this field.
b. Pause video: Allows the video to pause when the link appears on the screen.
c. Title: Type a title for the link.
d. URL: Paste the relevant link in this area.

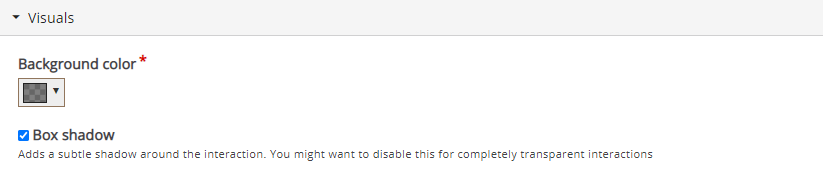
- “Visuals” options are described in this section.
a. Background color: Allows you to add background color to the link box.
b. Box shadow: Allows you to give shadow effect to the link box.
- After completing the relevant settings, click on the "Done" button.
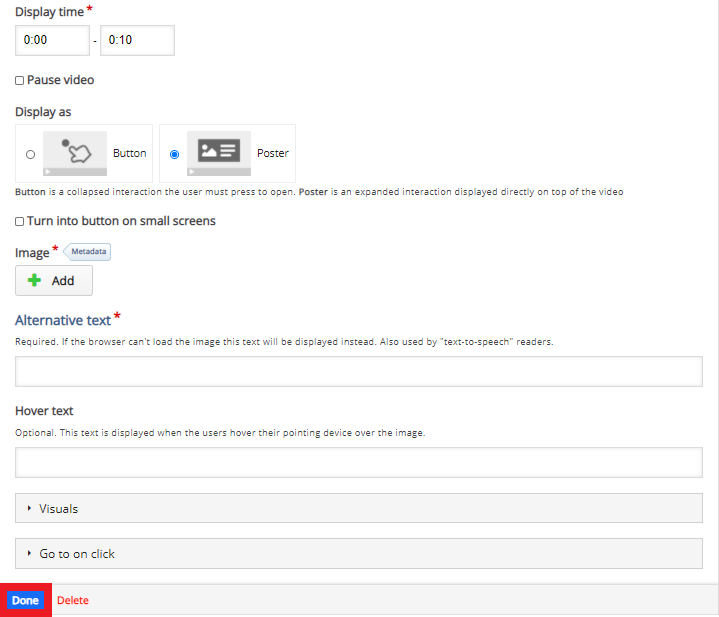
When you click on the "Image" button to add an image, a screen will open with the following options.
- View options are described in this section.
a. Display time: Type the time interval in which the image should appear on the screen in this field.
b. Pause video: Allows the video to pause when the image appears on the screen.
c. Display as: Makes the image appear on the screen as a poster or button.
d. Label: Type the text you want to write on the label. It is the text that appears next to the interaction icon. When this text is clicked, the image you added on the "Image" field appears.
e. Image: Click on the “Add” button to add an image.
f. Alternative text: If the browser cannot load the image, the text typed in this field will appear instead.
g. Hover text: When the image is hovered with the mouse cursor, the text entered in this field is visible.
h. After completing the relevant settings, click on the "Done" button.
- Log in to post comments